How Do You Plunge A Drain?
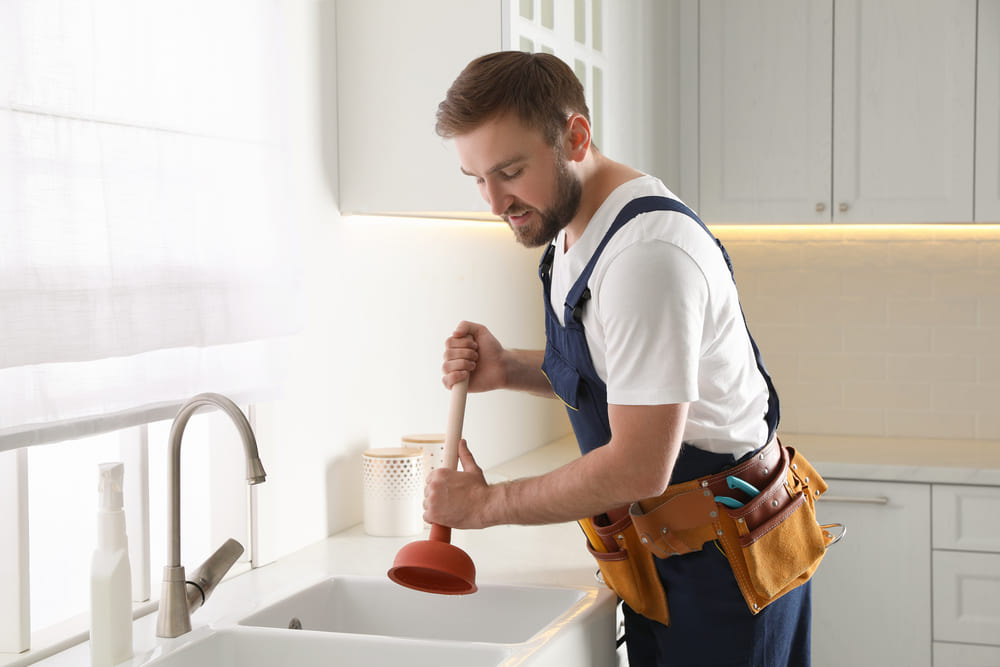
While there is nothing more fun than plunging your own drains to avoid injury and other mishaps, it’s important to use the right tool for the job. Make sure that your plunger has a rubber cup and handle so that you can easily push down on it with both hands. The best plungers have handles that are between 4-6 inches in length; if yours is too short or too long, they may not work correctly when plunged into a drain.
Fill the sink with water.
Fill the sink with water. This is an important step, as it will allow you to plunge while standing up and avoid straining your back. You can use a bucket or pitcher to do this, but it’s best if you have enough water in the sink to cover the plunger; this will help create pressure and make plunging easier on your back. If possible, fill the sink with hot water because it will be more effective at clearing clogs than cold liquid (though not all sinks are deep enough for this).
Step 1: Get a plunger. You can find one at your local hardware store, or if it’s an emergency situation, you may have one already in your home.
Plungers work by creating suction and pushing the clog out of the way so that water can drain freely again.
Step 2: Put some muscle into it! Press down firmly on the plunger until you feel resistance; keep up this pressure for several seconds at a time before releasing it (do not lift it completely off). If you’re having trouble creating enough suction with just one plunger, try adding weight by holding another object over top of it (such as a book) while plunging away!
Step 3: Repeat steps 2-4 until you’ve successfully unclogged your drain! If this doesn’t work after 10-15 tries.
Plunging a drain is not just a simple process; it is also an eco-friendly technique that will save you money in the long run. This method is also safe for children to use since it does not require any chemicals or toxic ingredients. You may need to call in a professional! Know that we specialize in clearing all sorts of blockages from residential drains.

We're Here For All Of Your Plumbing needs
Contact Me ASAP!

